Every family has a version of the same regret: a grandparent who passed before anyone thought to record them. A parent whose stories exist only in fragments, half-remembered by different people. The good news is that creating a life story video is more accessible than it's ever been — and it doesn't need to be long to be meaningful.
This guide covers how to create a life story video from scratch, what to include, how long it should be, and which tools make the process genuinely manageable.
What is a life story video?
A life story video is a short film that captures the arc of someone's life through photos, video clips, written milestones, and sometimes a narrated biography. It might be made for a birthday, a funeral, a family reunion, or simply as something to keep. The best ones feel less like a highlight reel and more like a portrait — honest, personal, and worth watching more than once.
What should I include in a life story video?
The most meaningful life story videos tend to draw on a mix of the following:
Photos — across different eras, from different people. The candid ones usually land harder than the posed ones.
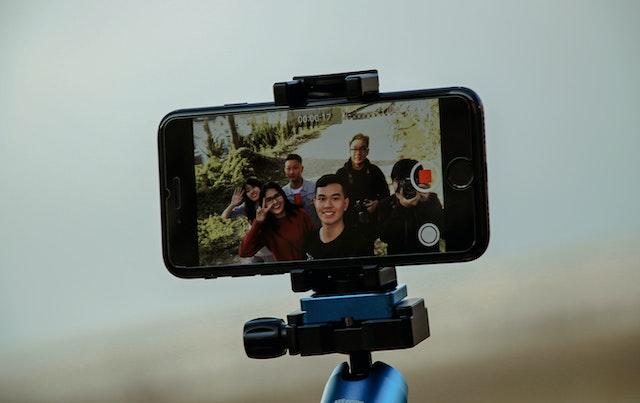
Short video clips — even brief footage adds something photos can't: voice, movement, laughter. If you have old home video, include it.
A narrated biography or written captions — giving context to the images, especially for viewers who didn't know the person across every chapter of their life. Tools like Memories include an AI-assisted biography writer that can help you draft this, even when you're not sure how to start.
Music — sets the emotional tone for everything. Choose something that meant something to the person, or browse a licensed music library if you're sharing the video publicly. See our list of good songs for slideshows of memories for inspiration.

How to create a life story video: step by step
Step 1 — Decide on the occasion and audience
The occasion shapes everything. A life story video for a living parent's 80th birthday has a different feel to a tribute video made for a funeral. One looks forward; the other honours what was. Getting clear on who this is for and what you want them to feel before you start saves a lot of second-guessing later.
Step 2 — Gather your photos and video clips
Start earlier than you think you need to. The photos that matter most are often spread across different family members' phones, boxes in cupboards, and social media accounts from years ago. Reach out broadly and give people time to look.
A shared Google Drive or Dropbox folder works well. If you're making a tribute or memorial video, Memories has a built-in way to gather contributions via a single shared link — family and friends upload directly and everything arrives in one place, without chasing anyone down.
Step 3 — Find the story's shape
Chronological order is the default for good reason. But the most memorable life story videos also have a sense of theme. What defined this person? What do the people who loved them most remember?
A loose chapter structure helps — early life, family, work, later years, for example. Don't try to include everything. A 5–8 minute video focused on the right moments holds an audience far better than a 20-minute one that tries to be complete.
Step 4 — Build the video
Memories is designed specifically for this kind of project. Once your photos and clips are gathered, you drag and arrange them into sequence, choose from a built-in library of music scores, add titles and transitions, and preview before downloading the final MP4. The biography writer can also generate narration to layer over the video — useful when you want the story to be told as well as shown.
For more general life story projects — a retirement, a graduation — Canva and iMovie are also capable options with good template libraries.
For more guidance on building a memorial slideshow specifically, see how to make a beautiful memorial slideshow.
Step 5 — Share it and preserve it
Export your finished video as an MP4 and share it however works best — a private YouTube link, at the occasion itself, or via a group message to family. For something that lives beyond a single event, Memories stores the tribute securely online, shareable only with the people you choose, alongside the photos, written stories, and contributions from family that went into making it.
That means the life story doesn't just exist as a file on someone's phone. It becomes something the family can return to.
How do I make a tribute video for a funeral?
A funeral tribute video follows the same steps above, but the timeline is usually tighter and the emotional stakes higher. Most families have two or three days to pull one together, often while coordinating with a funeral home and managing arrangements.
For this reason, a purpose-built tool like Memories is worth choosing over a general video editor. The platform is built around the specific needs of memorial video creation — funeral-appropriate themes, a built-in music library, collaborative photo gathering, and a guided process that doesn't require any video editing experience. The funeral home can also be involved, and the finished video downloads as an MP4 ready to play at the service.
Frequently asked questions
How do I make a video of someone's life story? Collect photos and video clips across different periods of their life, arrange them in chronological order, add music and titles, and export as a video file. The simplest way to do this for a tribute or memorial is with a purpose-built tool like Memories, which guides you through the process and lets family contribute photos collaboratively.
What should I include in a life story video? A good life story video includes photos across different eras, short video clips where available, music that sets the right tone, and some written or narrated context to connect the images. You don't need all of these — photos and music alone can be deeply moving. Add narration if you want to tell the story more explicitly, particularly for audiences who didn't know the person across every chapter of their life.
How long should a life story video be? For a funeral or memorial, 5–8 minutes is a practical target. For a birthday or celebration of life, you have a little more flexibility — 8–12 minutes works if the material warrants it. Beyond that, most audiences start to drift regardless of the quality of the content.
Can I create a life story video online? Yes. Memories, Canva, and Animoto all let you create life story videos in a browser without downloading software. Memories is the most complete option for memorial and tribute videos, with funeral-specific templates, a built-in music library, narration tools, and family photo sharing. You can start for free — no credit card required.
How do I collect photos from family for a life story video? Share a Google Drive or Dropbox folder and give people enough time to dig through old photos. If you're using Memories, the platform has a built-in sharing feature — you send one link and family members upload directly into the project. It's particularly useful when people are spread across different locations or aren't especially tech-comfortable.