Explore our informative help articles, latest news and engaging blog post

Funeral Planning
Your Essential Guide to Arranging a Beautiful Funeral or Memorial Service

Online Memorial
The Enduring Value of an Online Memorial

Funeral Planning
Funeral Order of Service Design: Why the Details Endure

Family Legacy
How to Mark a Death Anniversary

Funeral Planning
How Many Photos for a Funeral Tribute Video?
Funeral Planning
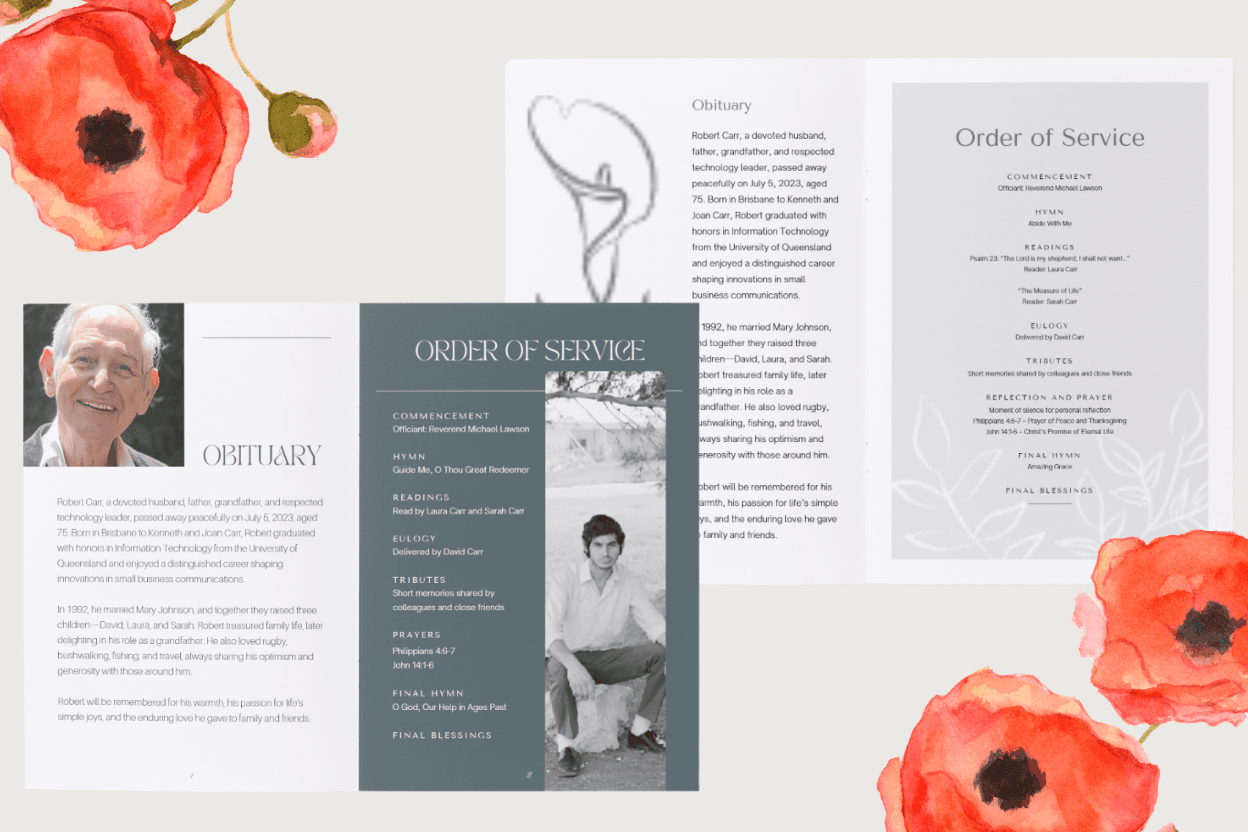
What to Include in an Order of Service: A Complete Guide

Funeral Planning
The 7-Day Funeral Planning Checklist

Live Streaming
Livestreaming and Recording a Funeral: Why It Matters More Than You Think

Funeral Planning
The Art of the Perfect Tribute Video
Funeral Planning
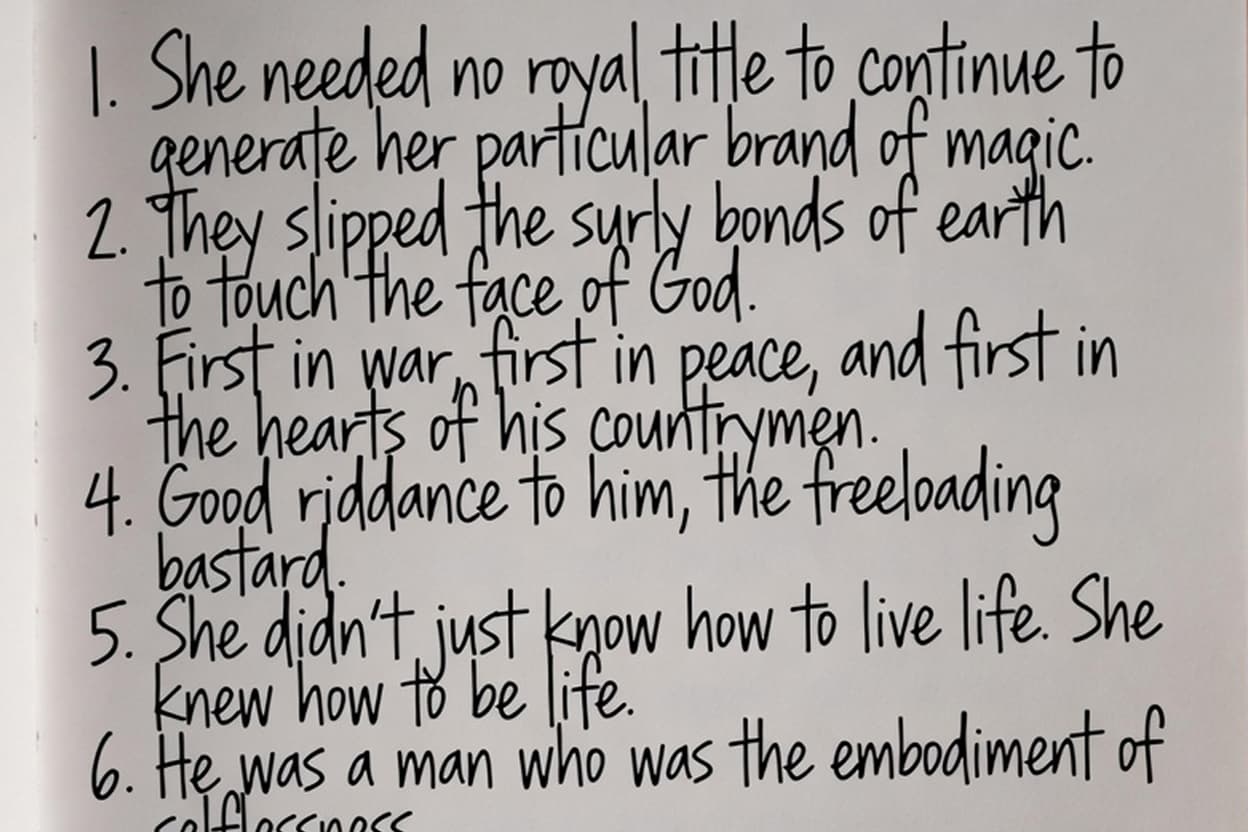
12 Famous Eulogies That Continue to Inspire Us

Funeral Planning
How to Write a Fitting Eulogy

Memories
Digital Keepsakes: Preserving Memories & Honouring Loved Ones Online

Live Streaming
Why choose 1080p over 720p for live streaming a funeral?

Online Obituaries
Grief in the Digital Age: How Online Platforms are Changing Funeral Rituals

Funeral Planning
The Future of Funeral Planning: AI Assistants and Online Tools

Online Memorial
Online Memorials: Creating Lasting Legacies in the Digital World

Funeral Planning
How Technology Helps Families Plan a Funeral Together

Family Legacy
What is end-of-life planning?

End of Life Planning
6 Funeral pre-planning mistakes to avoid

Grief Support
How an online memorial can help you grieve

Online Memorial
7 Ways to celebrate a dad who’s passed this Father’s Day

Funeral Planning
How to choose a Funeral Director that’s right for you

Funeral Planning
Types of Funeral Services: Your Complete Guide

Funeral Planning
An easy guide to funeral etiquette

Funeral Planning
An easy guide to choosing an urn

Funeral Planning
An easy guide to choosing a casket

Funeral Planning
Burial vs. cremation: What's the difference?

Funeral Planning
A complete guide to funeral and burial costs

Funeral Planning
21 Uplifting funeral poems to remember loved ones by

Funeral Planning
21 Beautiful funeral poems for Mom

Memories
Everything you need to know about a funeral wake

Funeral Planning
21 Beautiful Funeral Poems for Grandma

Funeral Planning
21 Religious Funeral Poems to Remember a Loved One

Funeral Planning
21 Beautiful Funeral Poems for Dad
Online Memorial
Everything you need to know about a Memorial Service

Funeral Planning
Top 25 funeral songs for Grandma

Funeral Planning
25 Touching funeral songs for Grandpa

Funeral Planning
How to Make a Beautiful Memorial Slideshow

Funeral Planning
51 Celebrate life quotes

Memories
Your Complete End of Life Planning Checklist for Australia 2021

Funeral Planning
38 Beautiful Christian funeral songs

Funeral Planning
20 Meaningful funeral songs for Mum

Funeral Planning
20 Uplifting funeral songs to celebrate a life

Funeral Planning
20 popular funeral songs in 2026

Memories
Memories' filmmaker on growing up, and silver linings

Funeral Planning
20 popular funeral songs for Dad

Funeral Planning
20 Songs about family

Funeral Planning
20 Modern funeral songs to honor a loved one

Funeral Planning
20 Country funeral songs for departed loved ones

Memories
There’s no place like home

Funeral Planning
20 Songs about missing someone

Funeral Planning
18 Best songs about growing up
Memories
16 Good Songs for Slideshows of Memories

Memories
21 Songs about Friendship and Memories

Memories
23 Happy memories quotes

Funeral Planning
51 Childhood memories quotes

Memories
25 Powerful quotes about pictures and memories

Memories
30 Quotes about memories with friends

Online Memorial
Creating an Online Memorial was cathartic for London-based Will Chitty

Funeral Planning
How much does a funeral cost?

Funeral Planning
5 reasons why you should preplan your own funeral

What is Grief
Dealing with grief and loss

Funeral Planning
5 Steps to creating a family memory book

Celebrations & Occasions
10 Great ideas for preserving baby memories

What is Grief
Top 10 ‘In Memory Of’ gifts that pay tribute to their life

Online Memorial
How to Make Memorial Video for a Loved One

Celebrations & Occasions
20 Best songs about memories

Online Memorial
Dealing with a Loss During COVID

What is Grief
How to overcome the fear of forgetting a loved one

Grief Support
How to make a tribute photo book

Funeral Planning
How to write a eulogy for a friend

Funeral Planning
How to write a eulogy for a grandmother

Funeral Planning
How to write a beautiful eulogy for Grandpa

Funeral Planning
How to Write a Eulogy for a Sister

Funeral Planning
How to write a eulogy for a brother

Funeral Planning
How to write a eulogy for a mother

Funeral Planning
How to write a eulogy for a father

Celebrations & Occasions
How to make a memory book for your baby

Memories
How to Create a Life Story Video

Funeral Planning
Celebrating life at a funeral

Online Memorial
Special Verses for Your Online Tributes

Memories
15 Great Ideas for a Memory Book

Memory Book
Steps to Creating a Memory Book For Grandparents

Funeral Planning
Songs to play at a memorial service

Funeral Planning
How to write poems for funerals

Celebrations & Occasions
20 Best retirement gifts

Funeral Planning
Everything you need to know about a cremation
Funeral Planning
7 Essential Things You Need to Know About a Direct Cremation

Funeral Planning
How Long After Death Does a Funeral Take Place?

Online Memorial (Website)
20 Best gifts for a 50th wedding anniversary

Memories Store
20 Best Graduation Gifts

Funeral Planning
What you need to know about keepsake urns

Funeral Planning
How to write an obituary for your grandfather

Celebration of Life
Everything you need to know about a celebration of life

Memories
20 Questions to Ask Your Parents in Their Lifetime

Funeral Planning
Funeral Arrangement Responsibilities

Funeral Planning
A Creative Digital Solution For Celebrations of Life

Memories
Why memories make us who we are

Creating Your Legacy
Scientists discover key to happy and healthy life

Memories Store
10 Best Gifts for an 80th Birthday

Memories
100 Memories quotes that make you think

Memory Book
6 Steps to Creating a School Memory Book

Online Memorial
The benefits of online memorials

Memories
How long are funerals? A complete guide

Funeral Planning
Preplanning a funeral is a family affair

Memories
How to Make a Photo Slideshow

Funeral Planning
5 Best Slideshow Software Programs

Funeral Planning
15 best songs for a funeral slideshow

Funeral Planning
Should I consider a pre-planned funeral trust?

Funeral Planning
How to make a beautiful funeral program

Funeral Planning
How to write a tribute for your father

Funeral Planning
How to write a eulogy from the heart

Grief Support
Starting the New Year After Grief

Grief Support
Journaling Can Help You Get Through Grief

Online Memorial
How to Write an Online Memorial for a Loved One

Funeral Planning
How to write an obituary

Funeral Planning
How to write an obituary for your mother

Memories
52 Beautiful quotes to remember a loved one

Online Memorial
Welcome to Your Online Memorial Journey
Celebrations & Occasions
7 Ways to celebrate All Souls’ Day

Funeral Planning
How to write a tribute notice
What is Grief
11 poems about grief

Memory Book
6 steps to creating a memory book for boys or girls

Memories
The Science and Psychology Behind Making Memories

Funeral Planning
6 Questions to ask a funeral director

Family Legacy
Create a digital legacy with your grandparents

Online Memorial
10 Best Ideas for Pet Memorials

Memory Book
Steps to Creating a Memory Book For a Funeral

Grief Support
30 Grief Quotes to Send in Times of Need

Online Obituaries